Within the video, I cover what I believe are 5 good rules to follow when making a putt on the green. Those steps are:
1. Read the break and commit to a line
Becoming a good reader of greens takes......you guessed it, practice! It helps to visualize the putt one aspect at a time. From behind, look at your ball in relation to the hole and first ask is the green sloping downhill, uphill or flat? Next, ask if the green slopes right to left, left to right or flat? Combining information from these two aspects will give you an idea of your line. I like to think of my line as something relative to the hole, ex. "Take aim a foot outside the right edge of the cup" or "The putt is pretty flat but I'm going to aim on the inside left edge of the cup." Once you have a line decided, you need to commit every part of the subsequent preparation to that line!
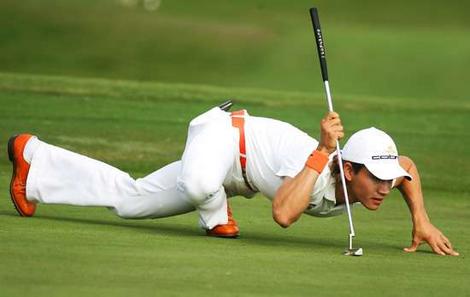
Tip: Only try reading a putt like Camilo Villegas if you are Colombian and built like a rubber band.
2. Make a few practice strokes
Take one step away from the ball. Its best to take a few practice swings with the putter on your intended line...next to your ball. Your goal is to swing like you do when you hit the putt for real. This means focusing on the line WHILE focusing on the speed at the same time. Ideally, if you take two practice swings and then one real swing, all swings should match identically. In a sense, you are producing a guideline for your body.
3. Address the ball with a firm yet soft grip and comfortable stance.
Take one step towards your ball and prepare to putt. The putter grip is tricky. You want to have control but you don't want to squeeze the life out of it! If you notice in the video, I hold the putter with my index finger pointing down the shaft. Its a style I tried out long ago, I feel it gives me better control. As for the stance, I prefer the knees slightly bent and feet about shoulder width apart, roughly parallel to your line.
4. Look at the hole, then your ball then your putter to confirm correct alignment.
As part of my routine, I look at each twice from above before making contact. Sometimes, if I'm not comfortable, I will step away and reexamine my line and go through the process again. Putting is all about being confident and comfortable when you are standing over the ball. If you aren't, don't bother rushing. Most putters have an alignment reference point ON the head. My Odyssey putter has a small black line I refer to when confirming my alignment.
5. Take putter straight back and follow through, keeping your eyes on the ball and keeping the putter on plane with your line.
Actions speak louder then words on this one. Keeping your putter on a straight plane with your line is a task in itself and something many golfers struggle with. Most importantly, you need to find a way to take that putter head back and through on a straight line. Taking your eye off the golf ball can ruin the outcome of a putt. What was that old phrase, keep your eye on the ball! A common teaching tool for putting involves sticking two tees into the green, making sure the putter head can fit through. Practice taking straight swings so the club goes through the tees without hitting either tee.
Golf Instructions Online Tip: 90% of putts that come up short don't go in. Probably my dad's favorite golf quote.
Ever heard the phrase: Drive for show, putt for dough?? Lets face the facts, chip ins and hole in ones come once in a blue moon. If you are Y.E. Yang, chipins for eagle come exactly when you need them!!! If you hit a green in regulation, we want you NOT to three putt. Learning to make more putts on the green will make you more confident, keep your overall score lower and help you win money.....if you are a betting person, of course.
Keep on swingin,
Foxy

